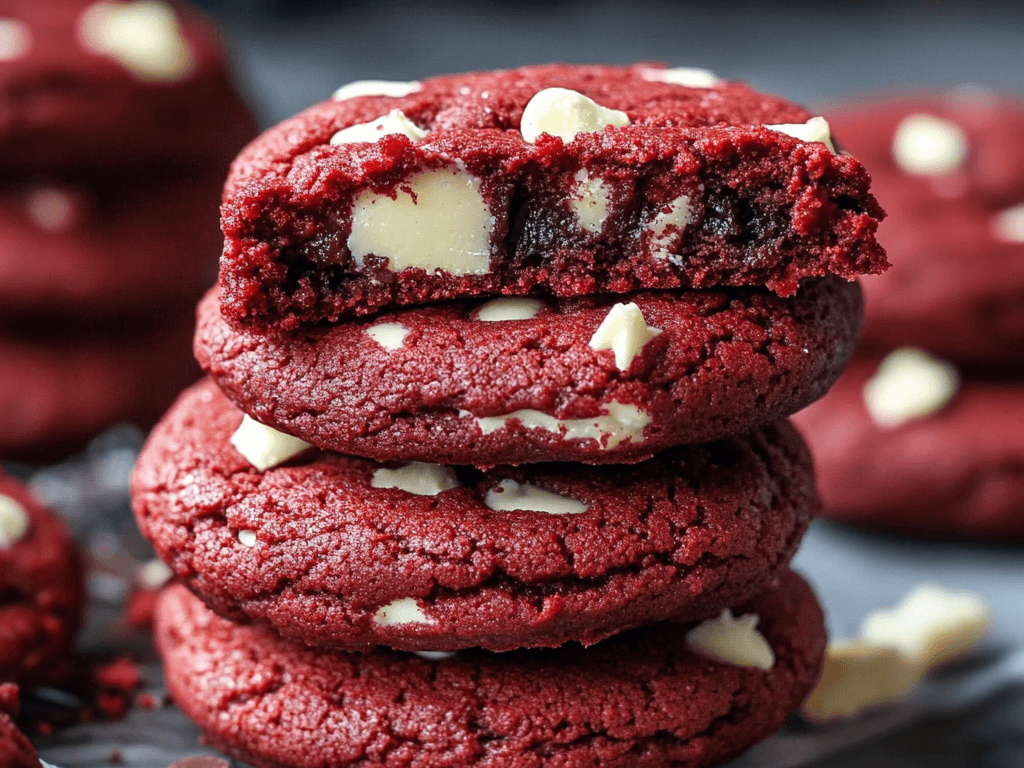
Alright, let’s talk about red velvet cookie magic. You know, those soft, chewy bites of chocolatey heaven with that signature red color? Honestly, if you’ve ever had a red velvet cookie, you know how impossible it is to stop at just one. They’re rich, sweet, and perfectly balanced with a subtle hint of cocoa that keeps you coming back for more.
Today, I’m sharing everything you need to know about red velvet cookies—how to make them at home, tips for achieving that ideal chewy texture, and even a few fun twists to customize your recipe.
Let’s dive in! Grab your apron (and maybe a snack), because this red velvet cookie journey is about to get delicious!
Table of Contents

What Makes Red Velvet Cookies So Special?
First things first—what even is a red velvet cookies?
Great question. The flavor comes from a subtle mix of cocoa and vanilla, but what really sets red velvet cookies apart is the tanginess, usually from buttermilk or vinegar in the traditional recipe. When that classic red velvet cake flavor profile gets translated into a cookie, it’s all about balancing sweetness with a delicate hint of cocoa.
And the color? That signature vibrant hue in red velvet cookies comes from red food coloring. Back in the day, it developed naturally from a reaction between cocoa powder and acidic ingredients. These days, it’s as simple as adding a little red dye for that unmistakable look.
My First Time Making Red Velvet Cookies
Okay, quick story time. The first time I made red velvet cookies, I thought I could just wing it. I used a random recipe I found online, skipped a few ingredients (who even keeps buttermilk on hand all the time?), and let’s just say…they came out more like sad, brown pancakes. But hey, mistakes are the best teachers, right? Now, I’ve nailed down the perfect recipe, and I’m here to make sure you don’t have to go through the same trial and error.
The Perfect Red Velvet Cookie Recipe
Ingredients You’ll Need
Here’s what you’ll need to whip up a batch of classic red velvet cookies:
- 1 ½ cups all-purpose flour (sifted for a smooth dough)
- 2 tbsp cocoa powder (unsweetened—this isn’t hot chocolate mix!)
- 1 tsp baking soda
- ½ tsp salt
- ½ cup unsalted butter (softened to room temperature)
- ¾ cup granulated sugar
- ¼ cup brown sugar (for that extra chewiness)
- 1 large egg
- 1 tsp vanilla extract
- 1 tbsp red food coloring
- 1 tsp white vinegar
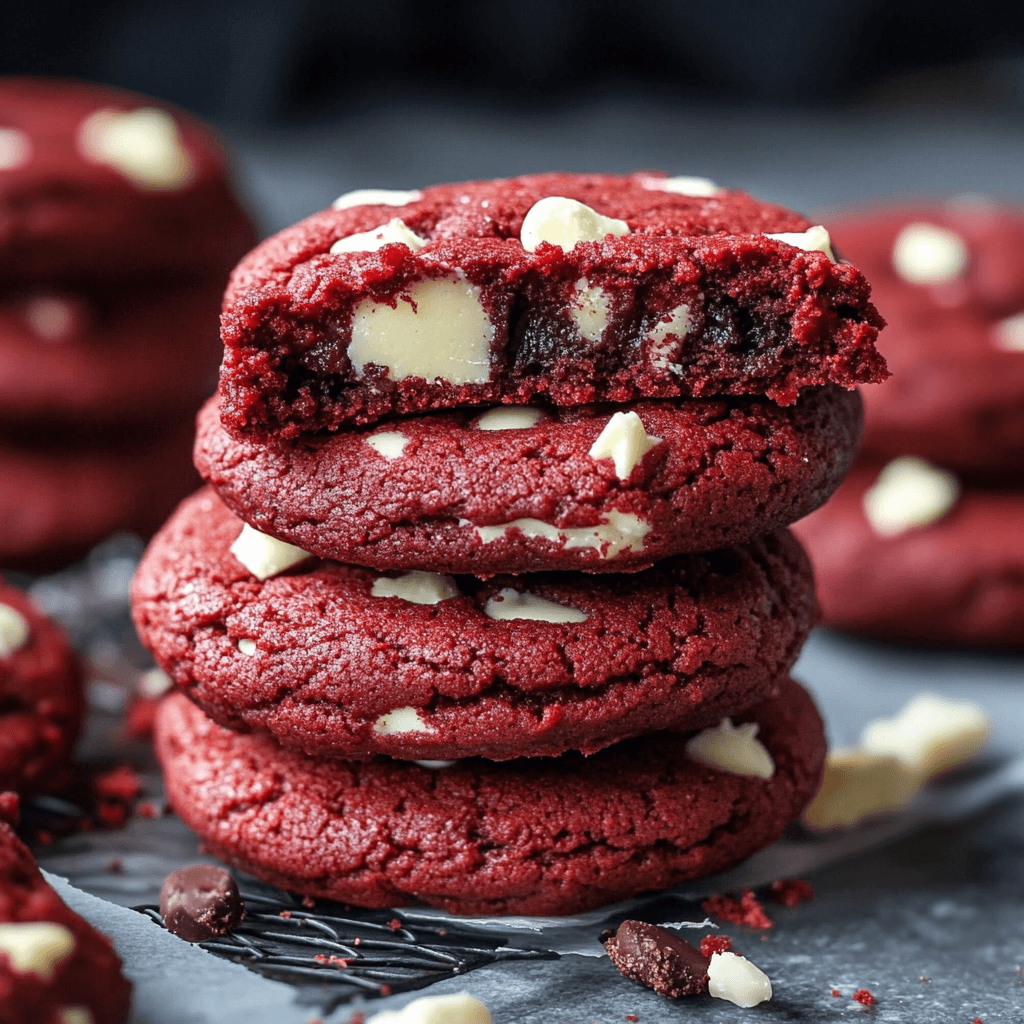
- ½ cup white chocolate chips (optional but highly recommended)

Step-by-Step Instructions
- Prep Your Oven and Baking Sheets
Preheat your oven to 350°F. Line a couple of baking sheets with parchment paper or silicone baking mats. Trust me, it makes clean-up a breeze. - Mix the Dry Ingredients
In a medium bowl, whisk together the flour, cocoa powder, baking soda, and salt. Set it aside—you’ll need this in a minute. - Cream the Butter and Sugars
Grab a large mixing bowl and beat the softened butter with both sugars until it’s light and fluffy. This step is key for soft, chewy cookies, so don’t rush it! - Add the Wet Ingredients
Mix in the egg, vanilla extract, vinegar, and red food coloring. It might look like a science experiment at this point, but trust the process. - Combine Everything
Gradually add the dry ingredients to the wet mixture, stirring until just combined. Overmixing can make your cookies tough, so go easy here. - Fold in the White Chocolate Chips
If you’re using them (and I highly recommend you do), gently fold in the white chocolate chips. They add the perfect pop of sweetness to balance the cocoa flavor. - Scoop and Bake
Use a cookie scoop or tablespoon to drop dough onto your prepared baking sheets. Leave a little space between each cookie—they’ll spread slightly as they bake. Pop them in the oven for 10-12 minutes, or until the edges are set but the centers still look a bit soft. - Cool and Enjoy
Let the cookies cool on the baking sheet for a few minutes before transferring them to a wire rack. Or, you know, eat one warm because you deserve it.
Tips for Making the Best Red Velvet Cookies
Now that you’ve got the basic cookies recipe down, let’s dive into some tips. A truly great red velvet cookies isn’t just about following instructions—it’s those small, expert tricks that take your cookies from good to absolutely amazing.
1. Don’t Overmix the Dough
When making red velvet cookies, once you add the dry ingredients, stir just until everything is combined. Overmixing can mess with the texture, and nobody wants tough cookies instead of soft, chewy perfection.
2. Chill the Dough
If your red velvet cookie dough feels too soft or sticky, pop it in the fridge for 20-30 minutes. This extra step helps your cookie hold their shape and prevents them from spreading too much while baking.
3. Use High-Quality Cocoa Powder
The flavor of red velvet cookies largely depends on the cocoa powder you use. Choose a high-quality, unsweetened cocoa powder for the best chocolatey flavor. It makes all the difference!
4. Get Creative with Mix-Ins
Classic white chocolate chips are a crowd favorite for cookies, but don’t be afraid to mix things up. Try adding dark chocolate chunks, chopped pecans, or even a swirl of cream cheese filling for a fun and unique twist.

Fun Twists on Red Velvet Cookies
Speaking of twists, here are a few fun ways to shake up the classic red velvet cookies recipe:
Red Velvet Crinkle Cookies
Roll the dough in powdered sugar before baking for a crackly, snow-dusted finish. These are perfect for Christmas or Valentine’s Day!
Red Velvet Cookie Sandwiches
Bake slightly smaller cookies and sandwich them together with cream cheese frosting. It’s like a whoopie pie, but better.
Stuffed Red Velvet Cookie
Take a small scoop of red velvet cookies dough, flatten it out, and wrap it around a piece of chocolate or cream cheese. Seal the edges carefully, ensuring the filling stays tucked inside, and bake to perfection. The result? A gooey surprise that takes your red velvet cookies to the next level—perfect for anyone who loves an extra indulgent treat!
Storing Your Red Velvet Cookies
Storing your red velvet cookies is super simple. Got leftovers? (Honestly, unlikely, but let’s pretend!) Keep your red velvet cookie fresh by storing them in an airtight container at room temperature—they’ll stay soft and chewy for up to 5 days. Want to enjoy them later? Freeze your homemade red cookies for up to 3 months. Just let them thaw for a few minutes, and they’ll taste as amazing as the day you baked them.
Why These Red Velvet Cookie Are Perfect for Any Occasion
A red cookie isn’t just delicious—it’s a total showstopper. The vibrant red color makes these cookies perfect for holidays, birthdays, or even a random Tuesday when you’re craving something sweet. Let’s be honest: nothing says “I care” quite like a homemade red velvet cookie fresh from the oven.
A Few Last Thoughts
So there you have it—a foolproof guide to making cookies that will wow your taste buds (and everyone else’s). Whether you’re a seasoned baker or just starting out, this recipe is easy enough to follow and delivers seriously impressive results.
The next time you’re in the mood for something sweet, skip the store-bought stuff and whip up a batch of these beauties. Just don’t blame me when you can’t stop eating them!
Smoothie Bowls: Start your day with a Protein Cookie Recipes: Your Guide to Healthy and Irresistible Treats.
Happy baking, and let me know how they turn out!
FAQs
1. What makes red velvet cookies special?
Their tangy-sweet flavor, soft texture, and vibrant red color set them apart.
2. Can I skip the food coloring?
Yes, but the cookies will have a natural cocoa color instead of red.
3. How do I keep them soft?
Don’t overbake! Let them cool on the baking sheet to stay chewy.
4. Can I freeze the dough?
Yes, freeze cookie dough balls and bake straight from the freezer.
5. Do I need to refrigerate them?
Not unless they have cream cheese frosting or filling.
6. Can I make them vegan or gluten-free?
Absolutely! Use plant-based swaps or gluten-free flour.
7. What’s the best topping?
White chocolate chips, cream cheese chunks, or festive sprinkles.